Contributor: BikeFlights
Once you’ve chosen where to travel for your next bike tour, then you have to figure out how to get your bike there. If your tour is close enough, you may be able to drive yourself and your bike, but if not, you’ll likely have to decide whether to ship your bike or fly with it. If you are considering shipping, check out the rest of this article from BikeFlights, a bike shipping service and bike box supplier trusted by riders worldwide, for a step-by-step guide to getting your bike to wherever it needs to go.
Step #1: Get a box or case.
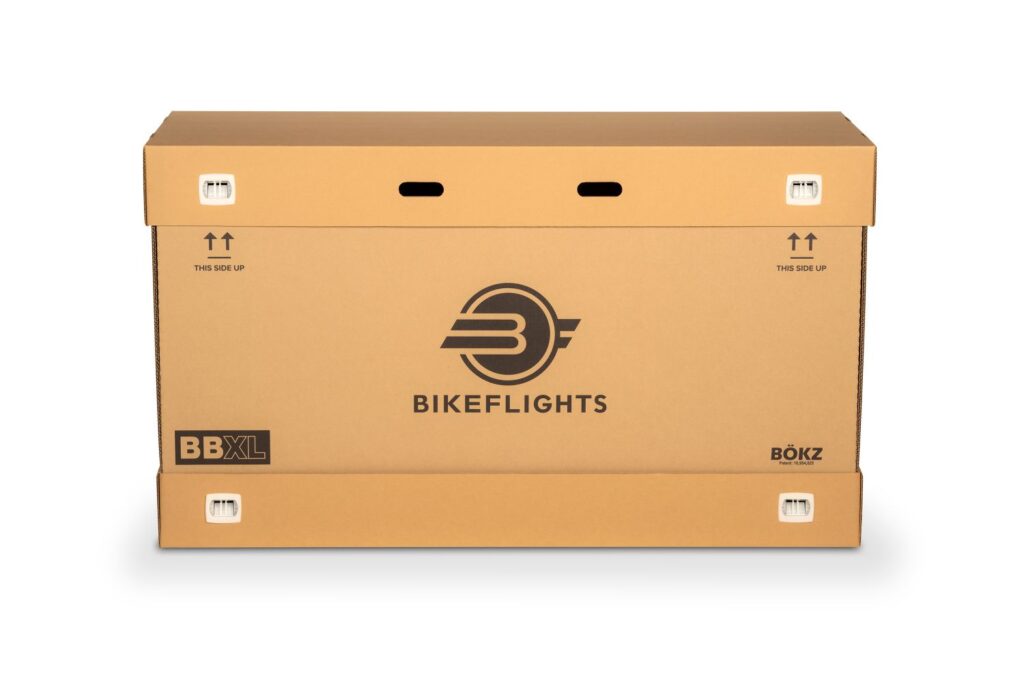
First, you have to figure out in what type of container you will ship your bike. If you already have a hard or soft case, you can ship it with BikeFlights. But if you need a box, don’t worry. You can either source a used bike box from a local bike shop or order a new bike box (available in four sizes to fit most bikes) to be shipped directly to you from BikeFlights. It’ll come to you packed compactly so you can easily store it in a closet or under a bed until you’re ready to use it.
If you’re doing a point-to-point tour, you can ship your box or case between your tour’s start and finish locations. One-way shipments are also an option if you are riding just one way (to or from) where you live on a point-to-point tour.
What’s most important is to not wait until the last minute to obtain a box. They can be hard to get from a local bike shop on short notice, and if you order a BikeFlights Bike Box, you’ll want to allow up to three business days for it to get to you anywhere within the contiguous U.S. (or more time for delivery to Alaska, Hawaii or internationally).
 Step #2: Figure out your ship-to and ship-from locations.
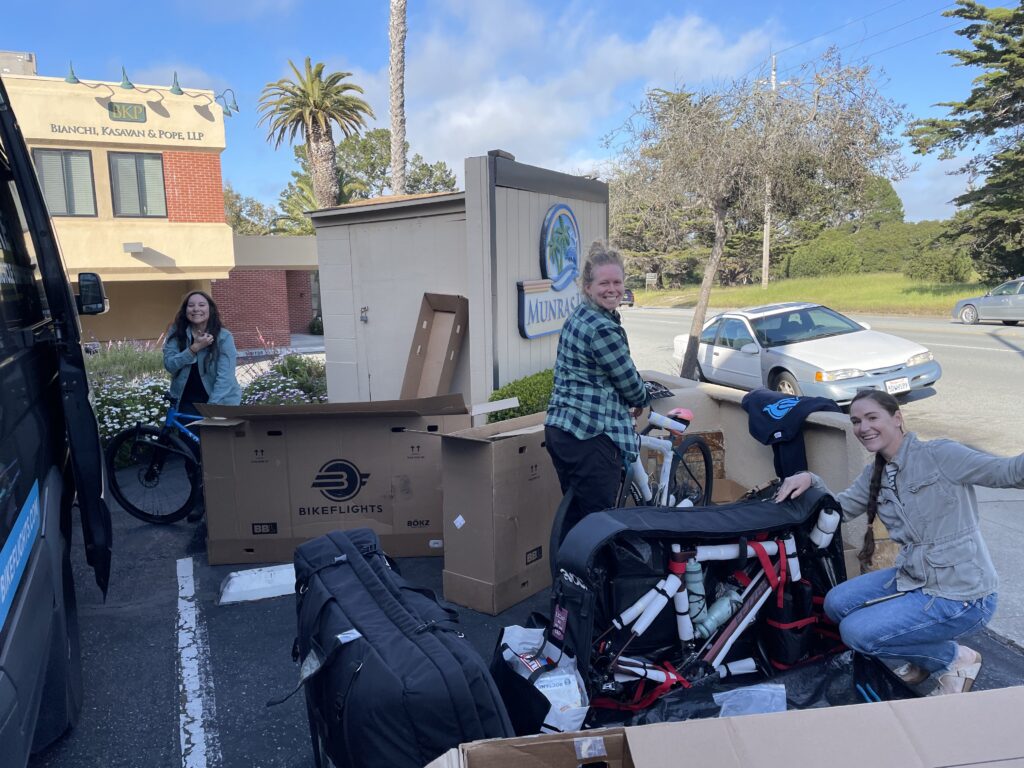
You can ship your bike with BikeFlights to and from most locations, including your house, your workplace, your local bike shop, your hotel, a friend’s house or a nearby UPS Customer Center.
If you are looking for a local bike shop to use as a ship-to or ship-from location at the start or finish of your tour, check out the BikeFlights Shop Finder. It’s always best to call any planned ship-to or ship-from location in advance to make sure they’re ok with receiving your bike or serving as a pickup location. If your bike will require a signature upon delivery, which is common for shipments valued over $500, you’ll also want to make sure someone will be available to sign for it on your behalf.
Step #3: Figure out by when you need to ship.
Use BikeFlights’ website to determine when you need to ship out your bike so it will arrive on time ahead of your tour. Simply select your ship date, and we’ll calculate your estimated delivery date.
Experienced bike tourists know all about preparing for the unexpected, and we recommend you do exactly that by building a little extra time into your shipping timeline. Plan for your bike to deliver a day or two ahead of when you’ll actually need it, then you won’t have to stress if there are any delays in the carrier system due to hurricanes, floods, tornados, snowstorms or any other reasons.
Step #4: Schedule a pickup.
Save yourself the time and hassle of dropping your bike off with the carrier ahead of a trip, and schedule a pickup when you book your shipment. For just $5, BikeFlights will send a carrier driver directly to your location to come get your packed bike. Just be sure to have it all packed and labeled and ready to go ahead of the scheduled pickup day and time.
If you opt not to schedule a pickup for any reason, you can instead drop off your bike at any UPS Customer Center.
Step #5: Print & apply your labels.
Your labels come to you by email and are available for download within your BikeFlights account as far in advance as 30 days ahead of your shipment’s scheduled ship date. So if you’re on a short tour, you can print your return labels before you head out, or if you’re on a longer tour, you can stop at most office stores and print them when and where it’s convenient for you en route. You’ll get your labels within minutes of booking a domestic shipment, but it’s best to all about a week to finalize any paperwork required to complete the labeling of your international shipments.
Prior to applying your new labels, be sure to remove or to completely cover all previous labels, bar codes and hazmat stickers from your box or case; failure to do so is the number one reason shipments get delayed or go off track. You can also watch these videos to learn how to apply your label to your box or how to apply your label to your case.
Get more information on how to pack your bike, and check out BikeFlights YouTube Channel for lots of great resources about bike shipping and bike boxes. You can also contact support@bikeflights.com any time with shipping questions ahead of your next tour.
